How To Make Dark Chocolate Ice Cream
I was never a vanilla ice cream person. I like a good chocolate ice cream. Sure, I dabbled with strawberry ice cream a time or two, but chocolate is my go to flavor. To reach the heights of indulgence I expect in a chocolate ice cream, it occasionally has to be made at home. And when it comes to chocolate ice cream at home, I like to make dark chocolate ice cream that is made with high quality chocolate. Eighty five percent cacao usually does the trick.
FYI…This how to make dark chocolate ice cream post contains affiliate links for chocolate products I like. This means that if you click on a product link on this page, and then purchase the product, The Culinary Exchange will make a small amount of money from your purchase. I ONLY link to products that I personally recommend and use in the recipes.
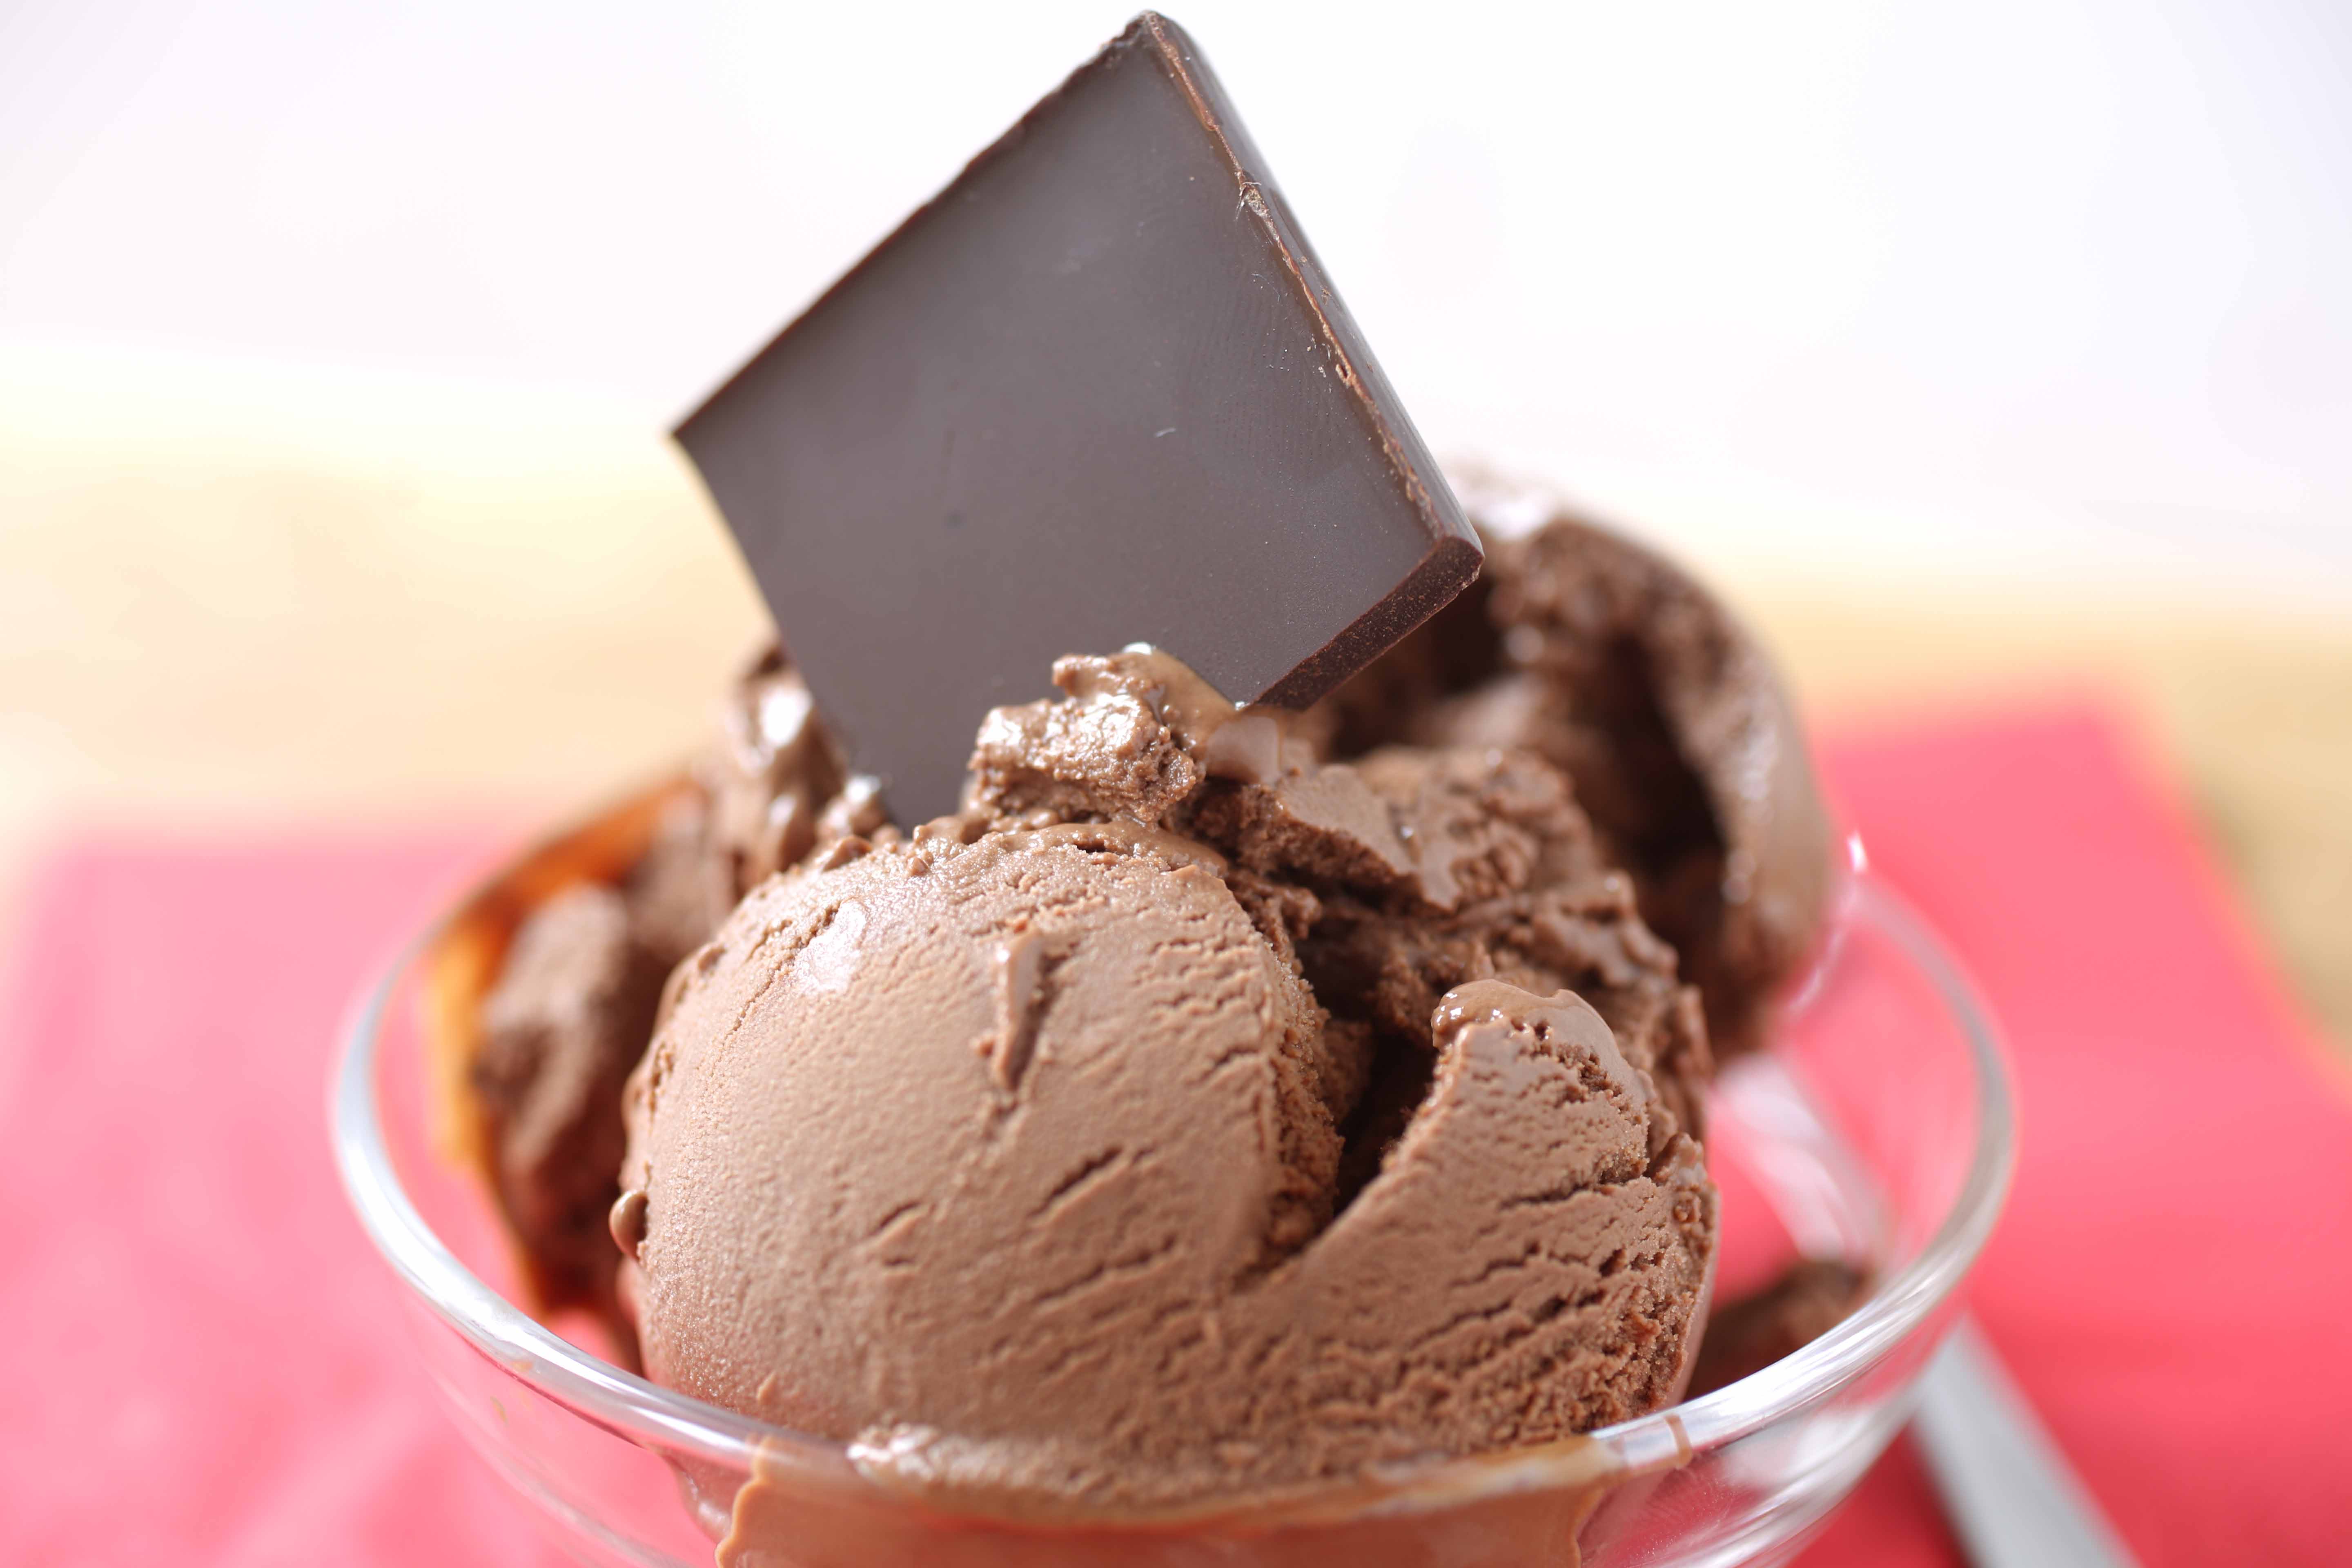
Make Dark Chocolate Ice Cream With Real Dark Chocolate
As one would expect, it is the dark chocolate with which you make dark chocolate ice cream that makes all the difference. I turn to world experts in chocolate – The Swiss – when I make dark chocolate ice cream . Here is a link to the chocolate I like to use. Lindt’s 85% cocoa is nice for this. You could use their 99% cocoa bar, too
if you wanted to make dark chocolate ice cream that was even darker! YUM! I warn you though, it can get a little pricey!
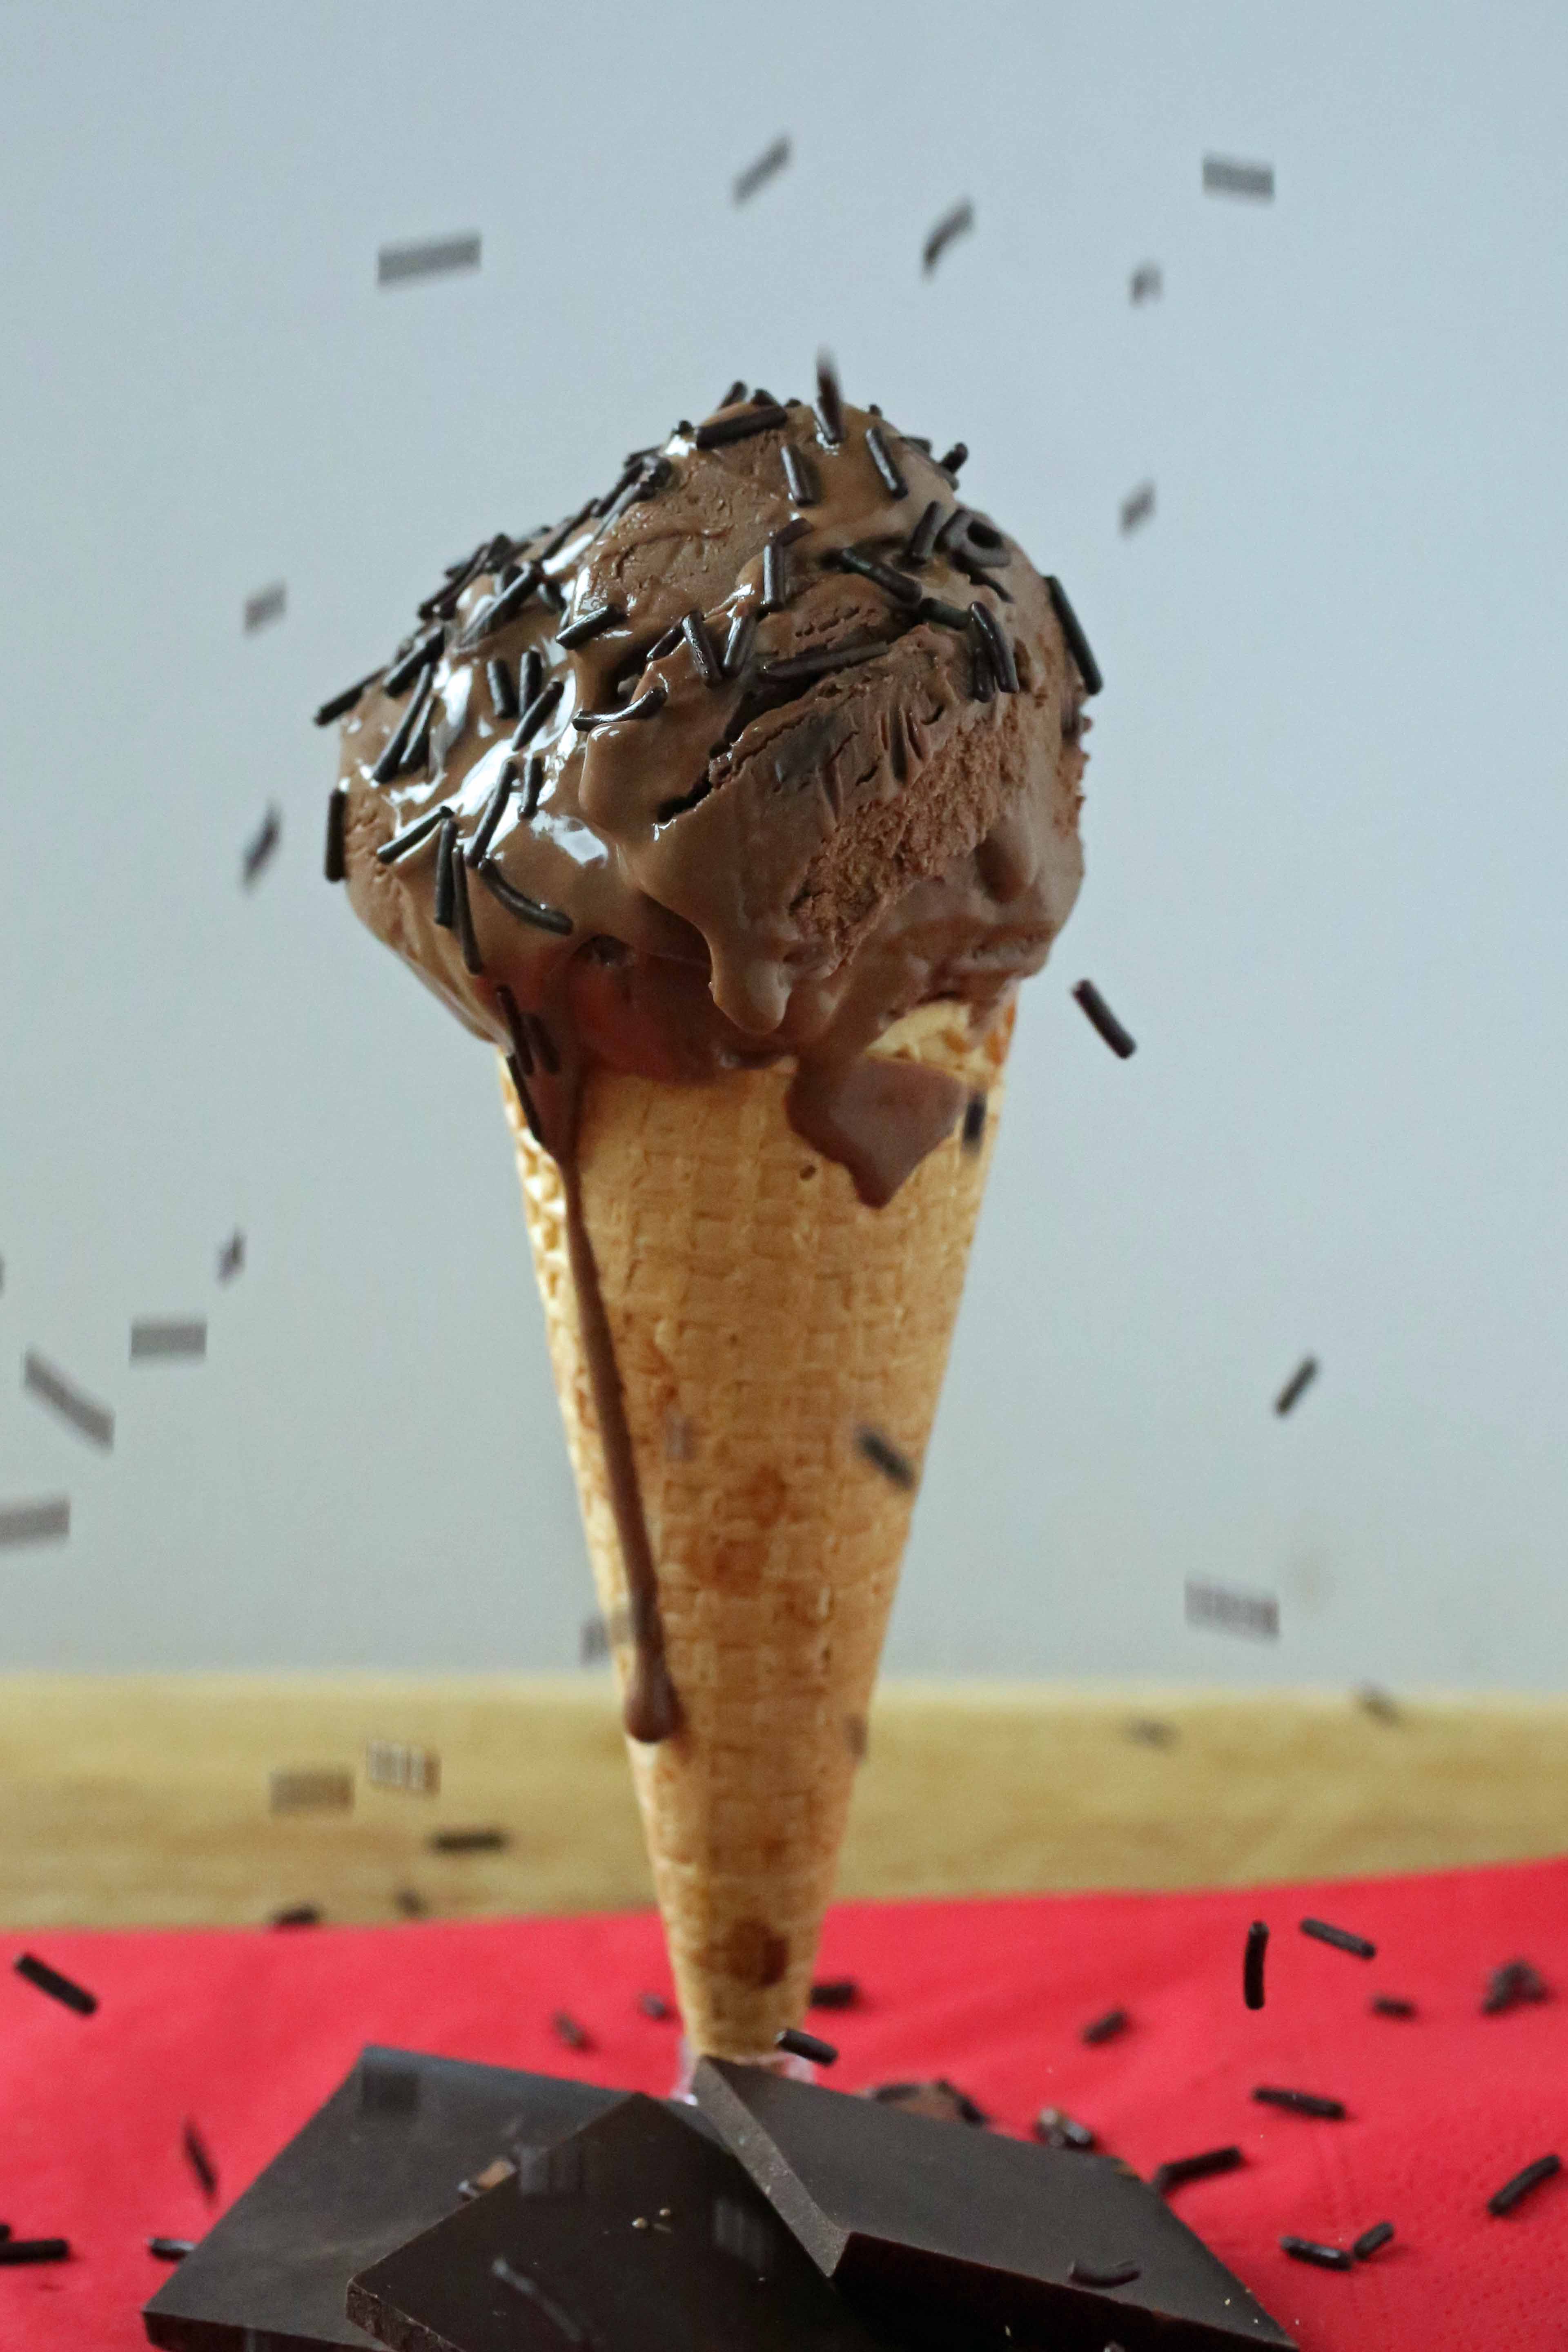
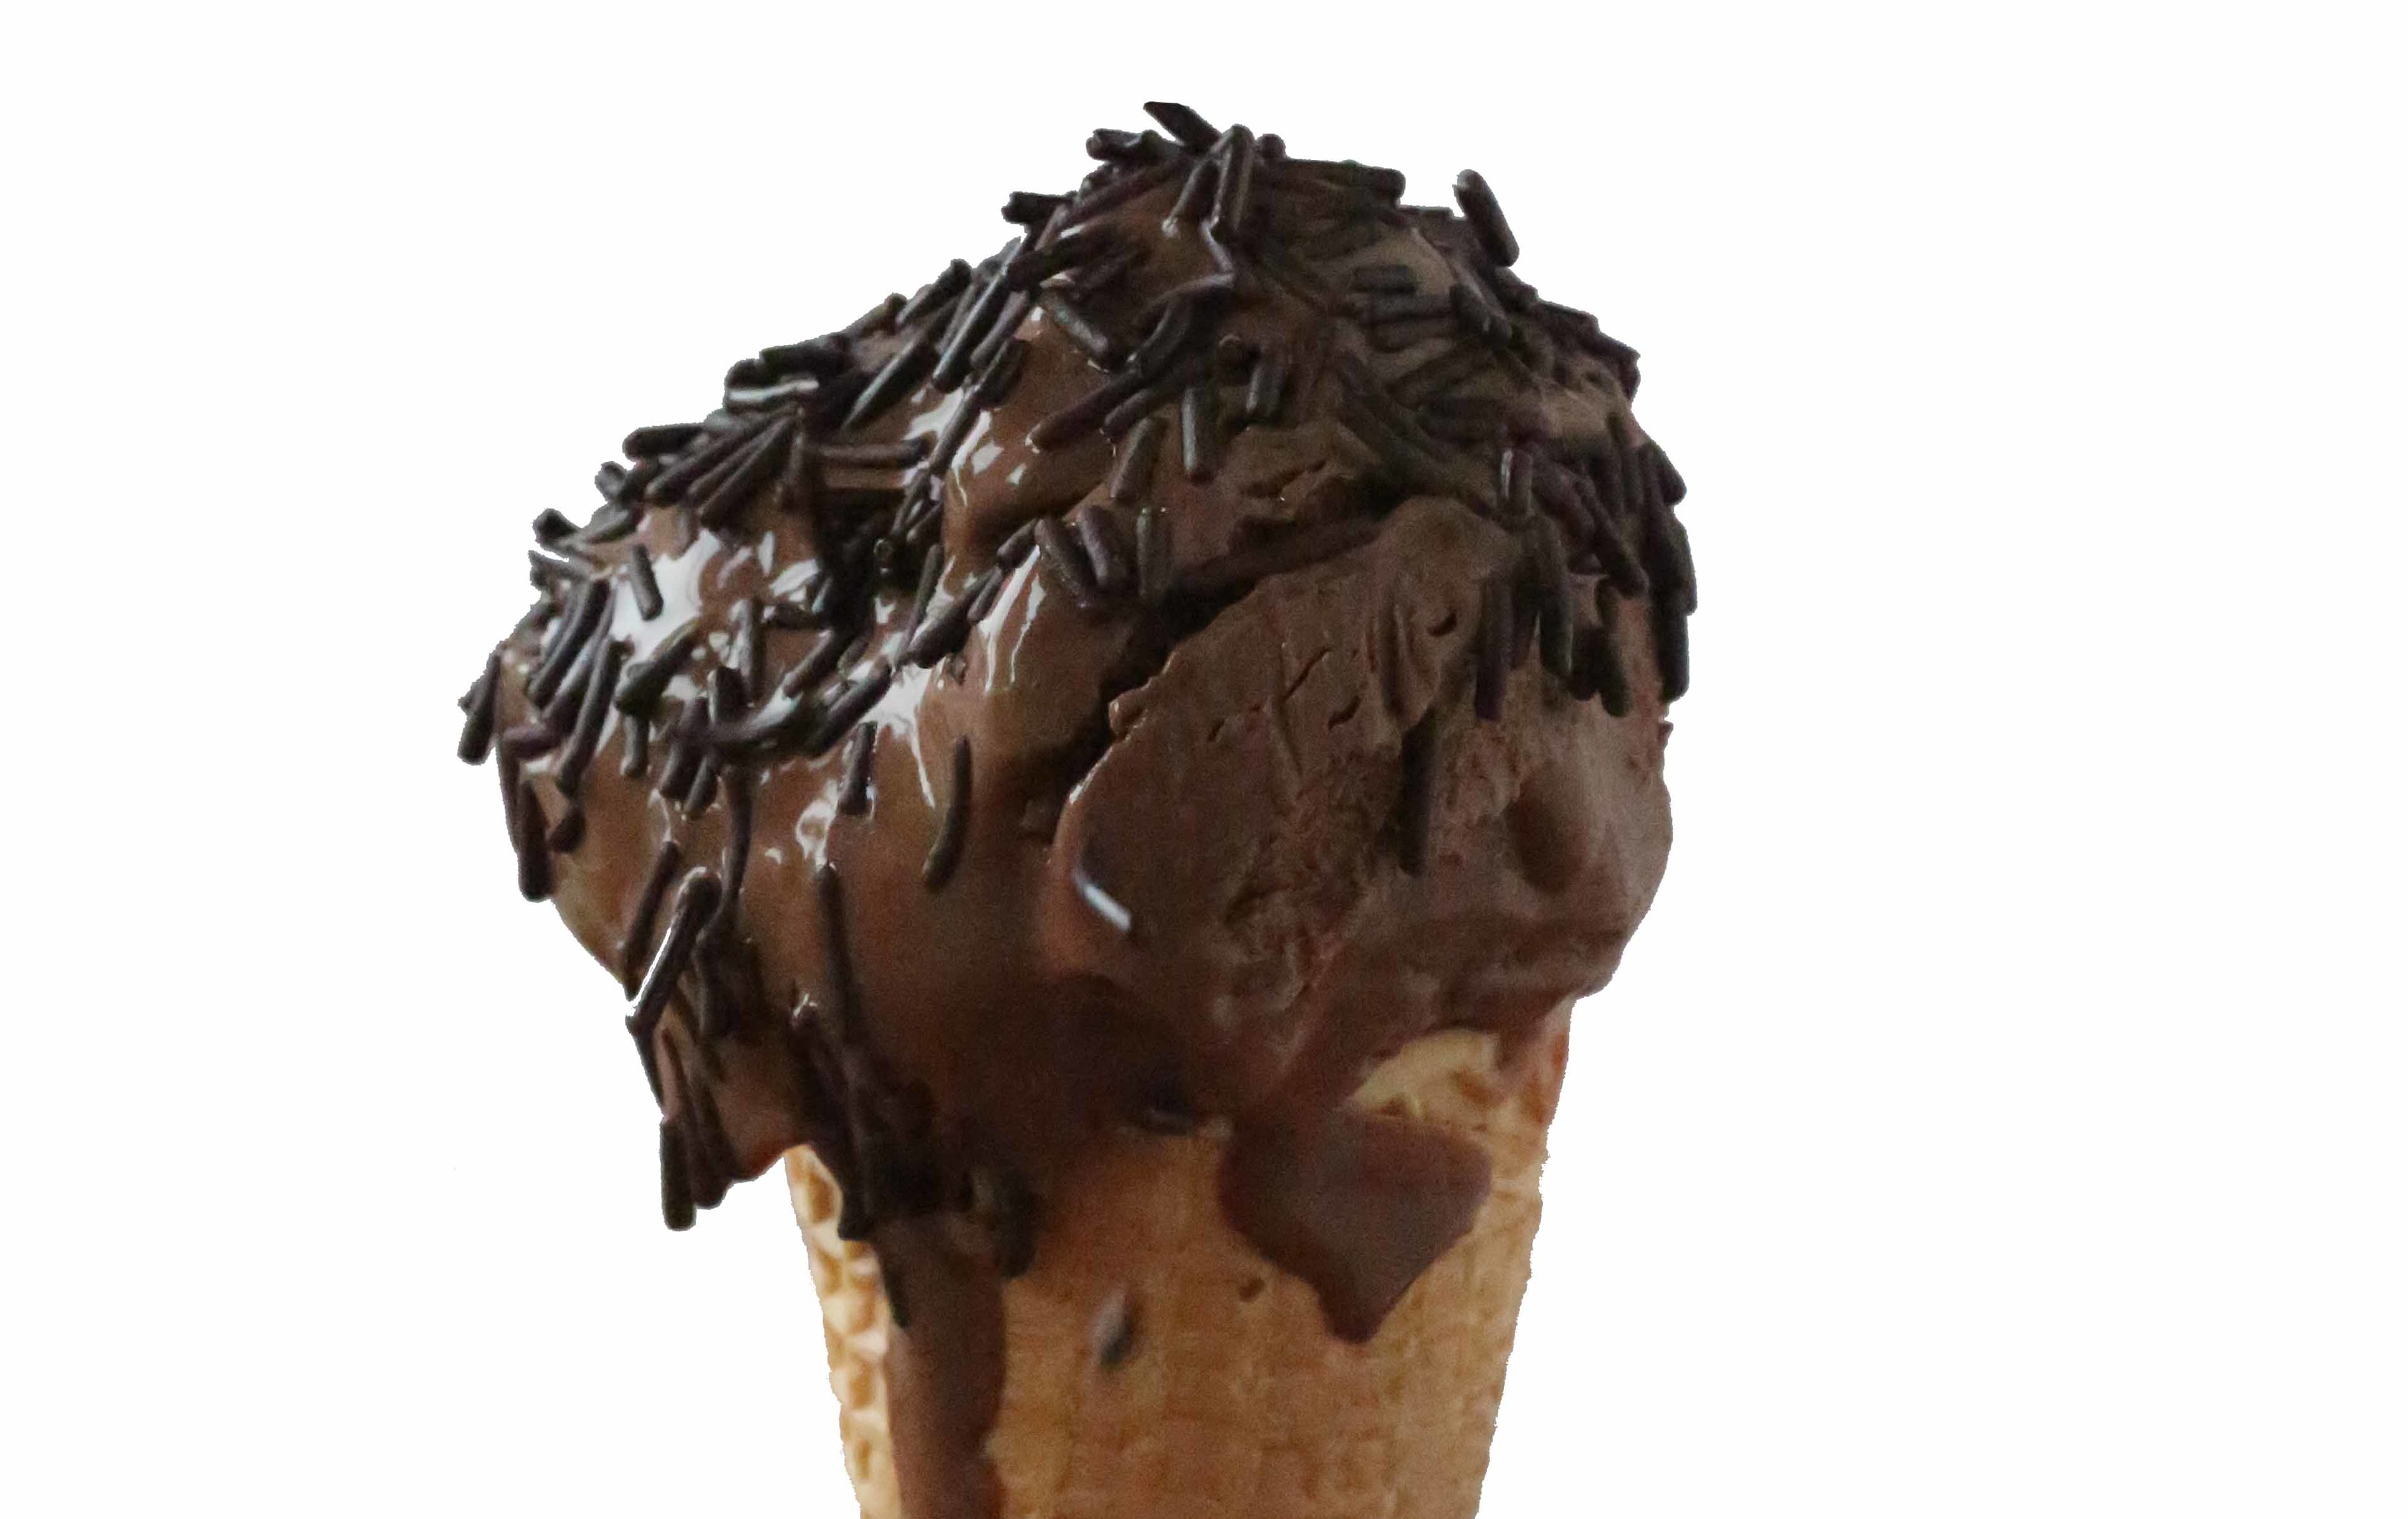
Dont For Get The Sprinkles!
Make Dark Chocolate Ice Cream Custard Style
As with blackberry ice cream (any ice cream really), I like to make my ice cream custard style. That means the base of the ice cream is made with yolks and cooked up into what is really a custard sauce. Custard sauces churn up into nice, creamy, smooth and rich ice creams! The recipe is made simple by forgoing the usual egg tempering. I find it easier to just mix the custard base ingredients up together, cook them slowly until the temperature reaches about 180F then pour the hot custard sauce over the chocolate to melt it. I have nothing against the tempering of eggs, it is just a lot easier with a thermometer. It also makes a double boiler unnecessary so cooking can be slightly faster. Less equipment is always a good thing. You still need to be careful to avoid scrambling your egg yolks, but a thermometer tells you exactly when it is done. Sure, you can comfort yourself with the “coats the back of a spoon” trick if you want. That makes it all seem so “food TV”, doesn’t it?
Make Dark Chocolate Ice Cream – The Melt and Churn
Once the custard is cooked, simply pour it over the chocolate. It is best if you chop up the chocolate into small bits with a knife. The chocolate will melt very nicely into the custard. The mixture can then be cooled over an ice bath, refrigerated until fully chilled then churned in your ice cream machine. As a side note, if you make dark chocolate ice cream base and reduce the liquid by 1 cup, upon cooling, you get a very nice dark chocolate custard! If this was unintentional, thin the custard with some milk and churn it. The texture will be a little different, but delicious, nonetheless.
The ‘how to make dark chocolate ice cream’ video is below and the full recipe follows.
- 8 oz. of high quality dark chocolate - shoot for at least 85% cocao.
- 4 egg yolks
- 1/2 cup sugar
- 2 cup of whole milk (skim milk will work, too)
- 1 cup of heavy cream
- 2 teaspoon vanilla extract
- Using a sharp knife, chop the chocolate into small pieces. This will help it melt. Transfer the chopped chocolate into a large bowl. Set aside.
- Place the yolks and sugar in a medium bowl. Whisk the sugar/yolk mixture together about 1 to 2 minutes, until it is thick and pale yellow in color.
- Whisk the cream, milk and vanilla into the egg/sugar mixture until they are fully incorporated.
- Transfer the mixture to a medium pot and place the pot over medium low heat.
- Heat the mixture slowly whisking constantly until a candy or instant read thermometer reads between 175-180F. The mixture should thicken and coat the back of a spoon.
- (Note: Do not let the mixture boil. If the mixture curdles, remove it from the heat, and let cool. Place it in a blender and whip until smooth.)
- Strain the custard through fine sieve into the bowl containing the chopped chocolate. Cool the mixture by placing the bowl over an ice bath. Continue to whisk the mixture. When it is cool to room temperature, refrigerate the mixture until fully chilled.
- Churn in your ice cream maker following the manufacturer’s directions.
- Transfer to a container and store in the freezer.
- Serve in a bowl or on cones.
I hope you enjoy! Keep Eating! Keep Innovating!
How do you make dark chocolate ice cream? What chocolate do you use?Let us know in the comments or on Facebook.
The Culinary Exchange can also be found on Twitter, Instagram, Pinterest, Google+ and YouTube.
Come On! Follow Along!