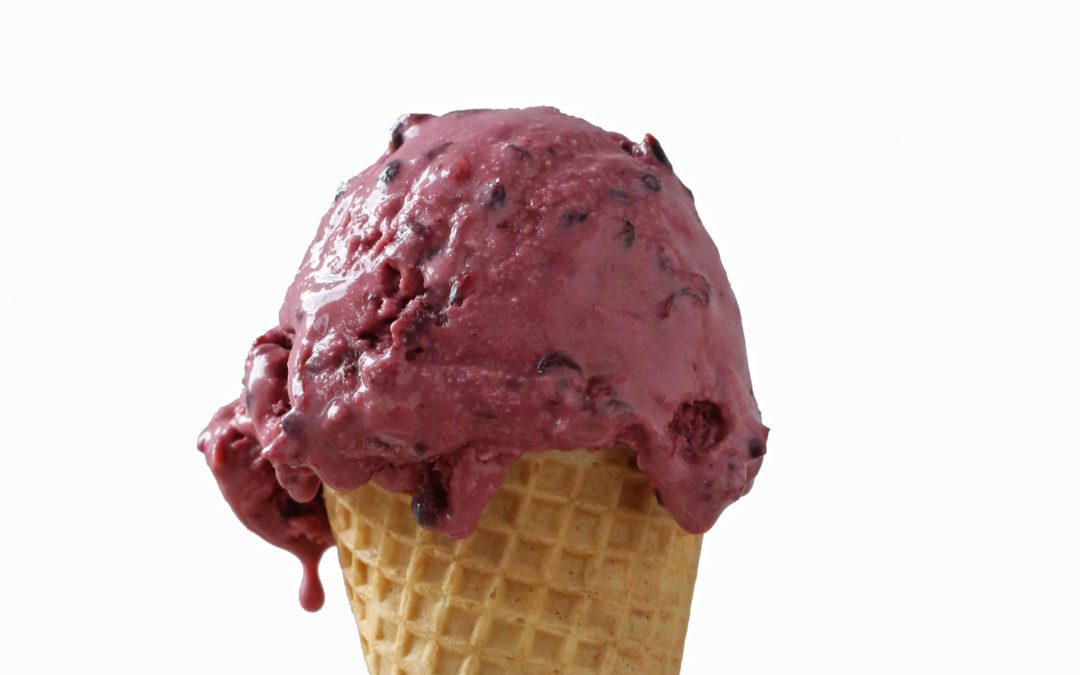
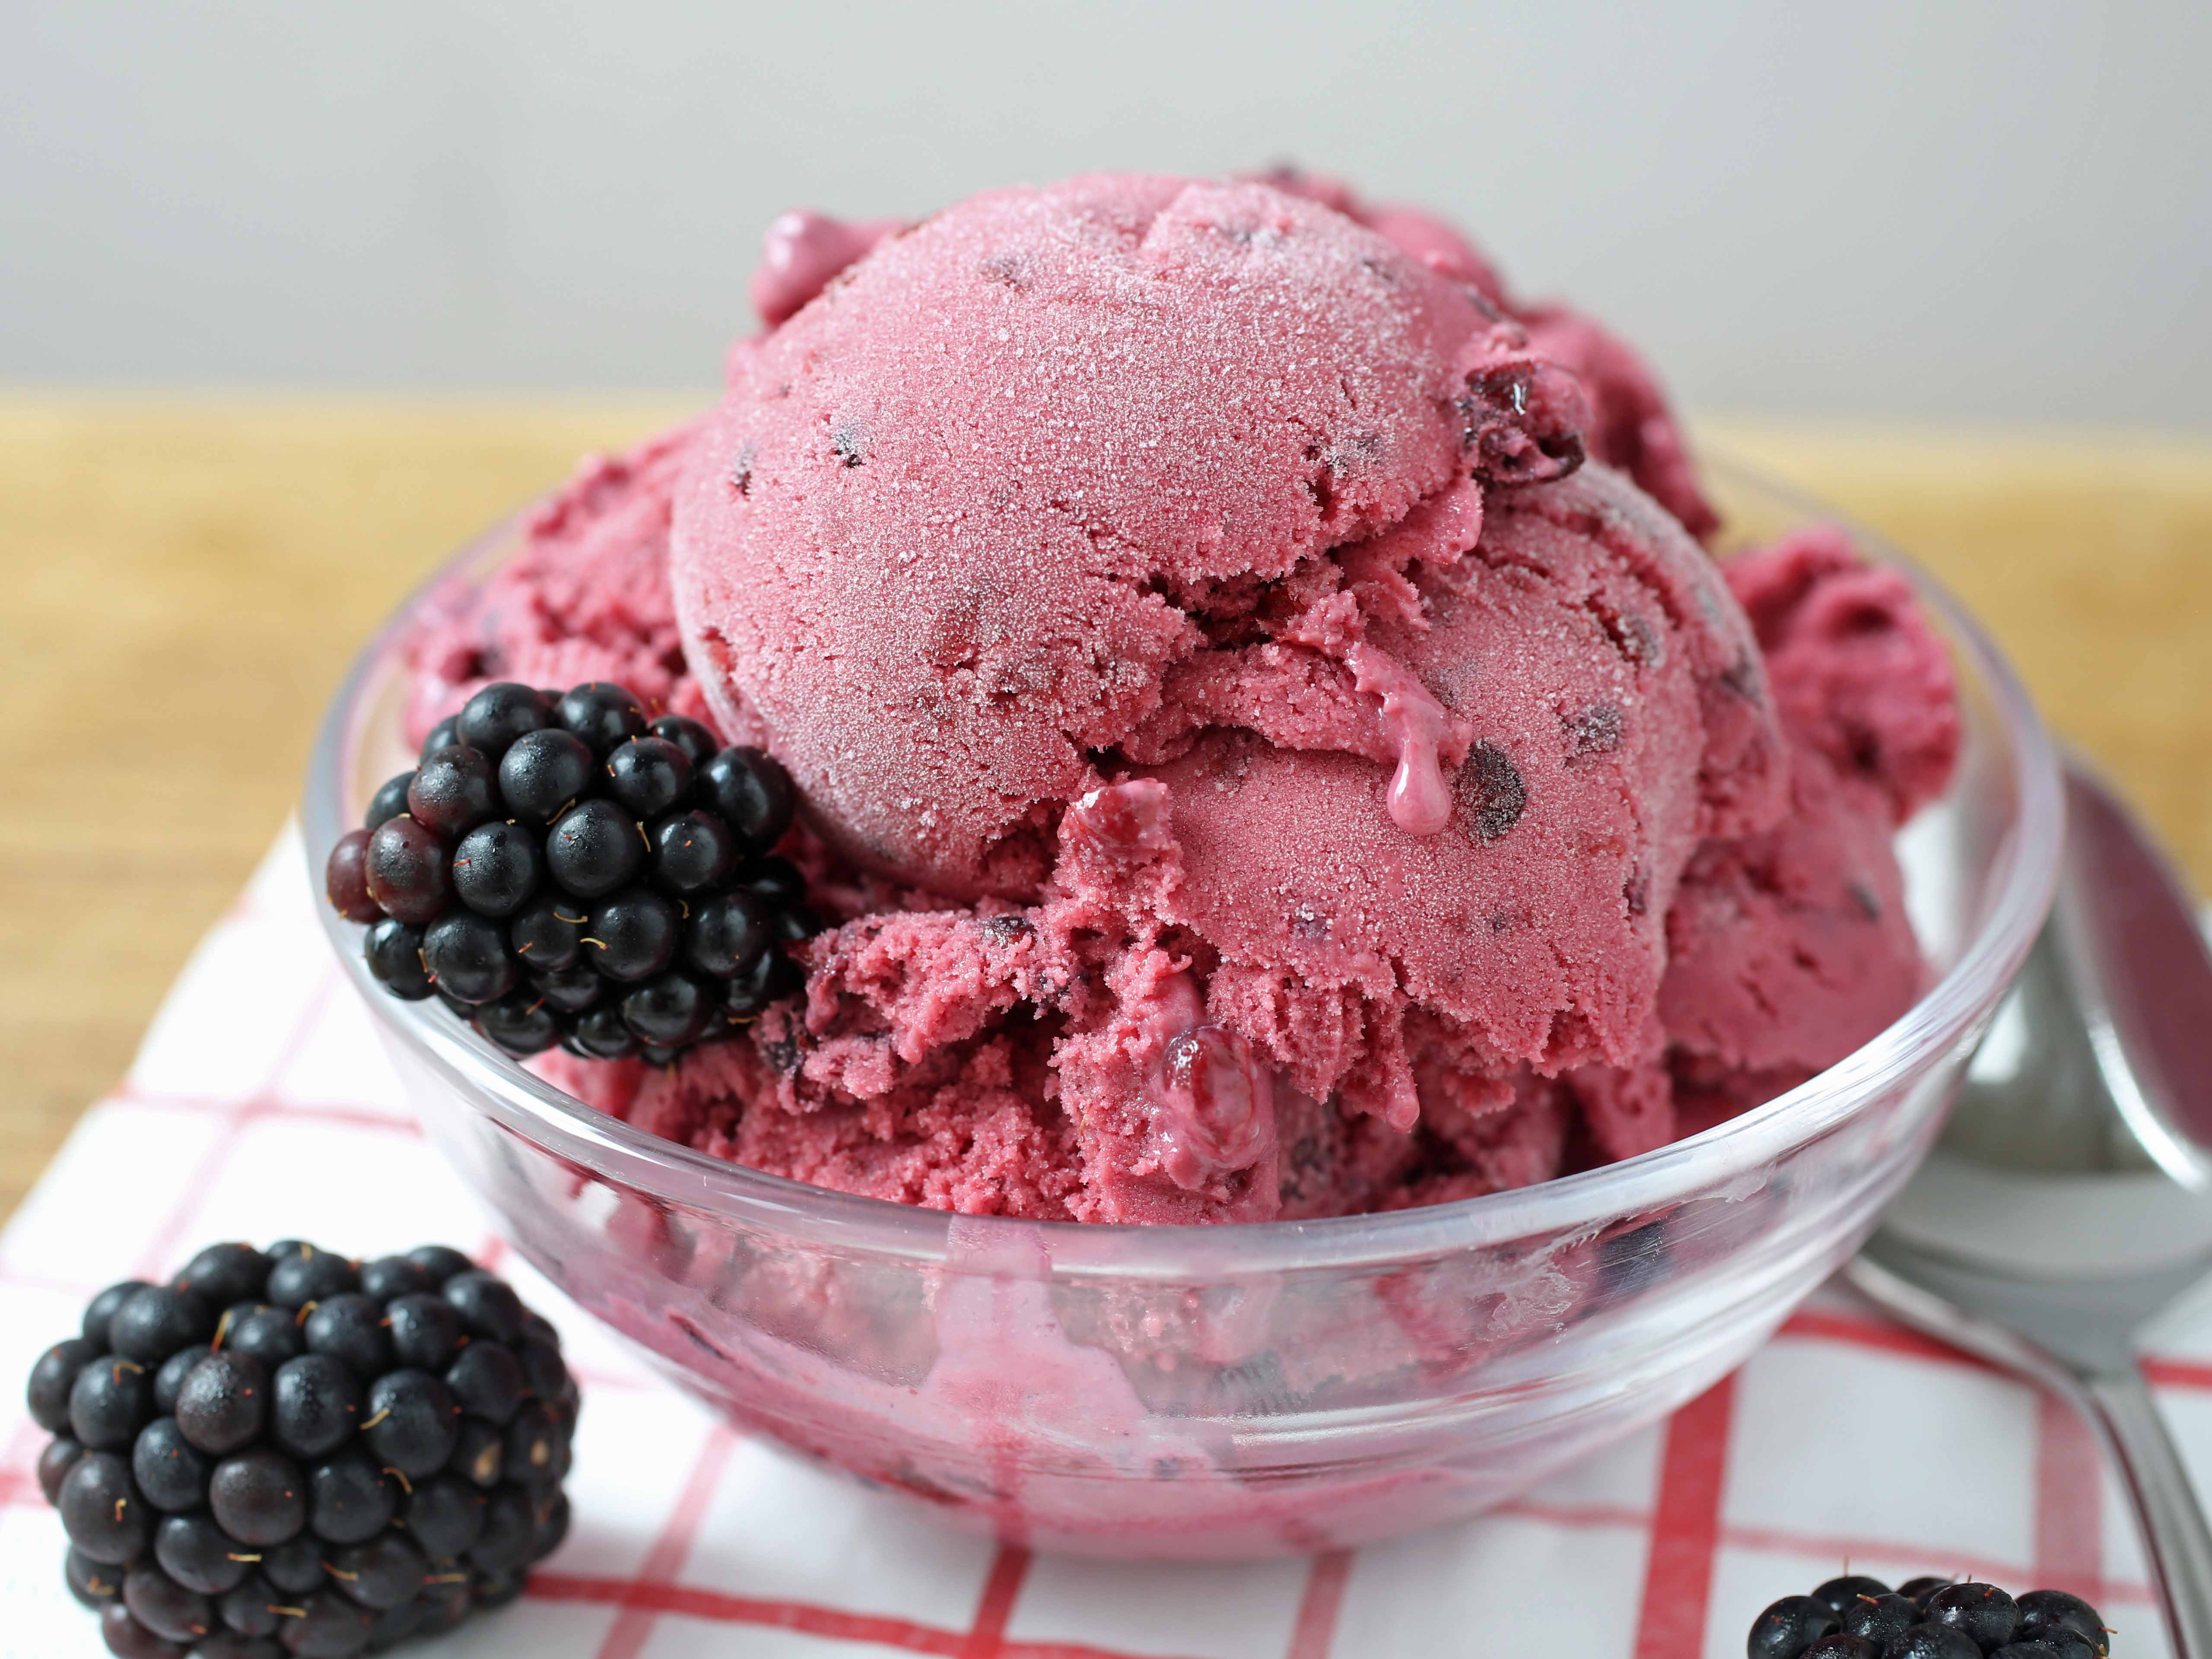
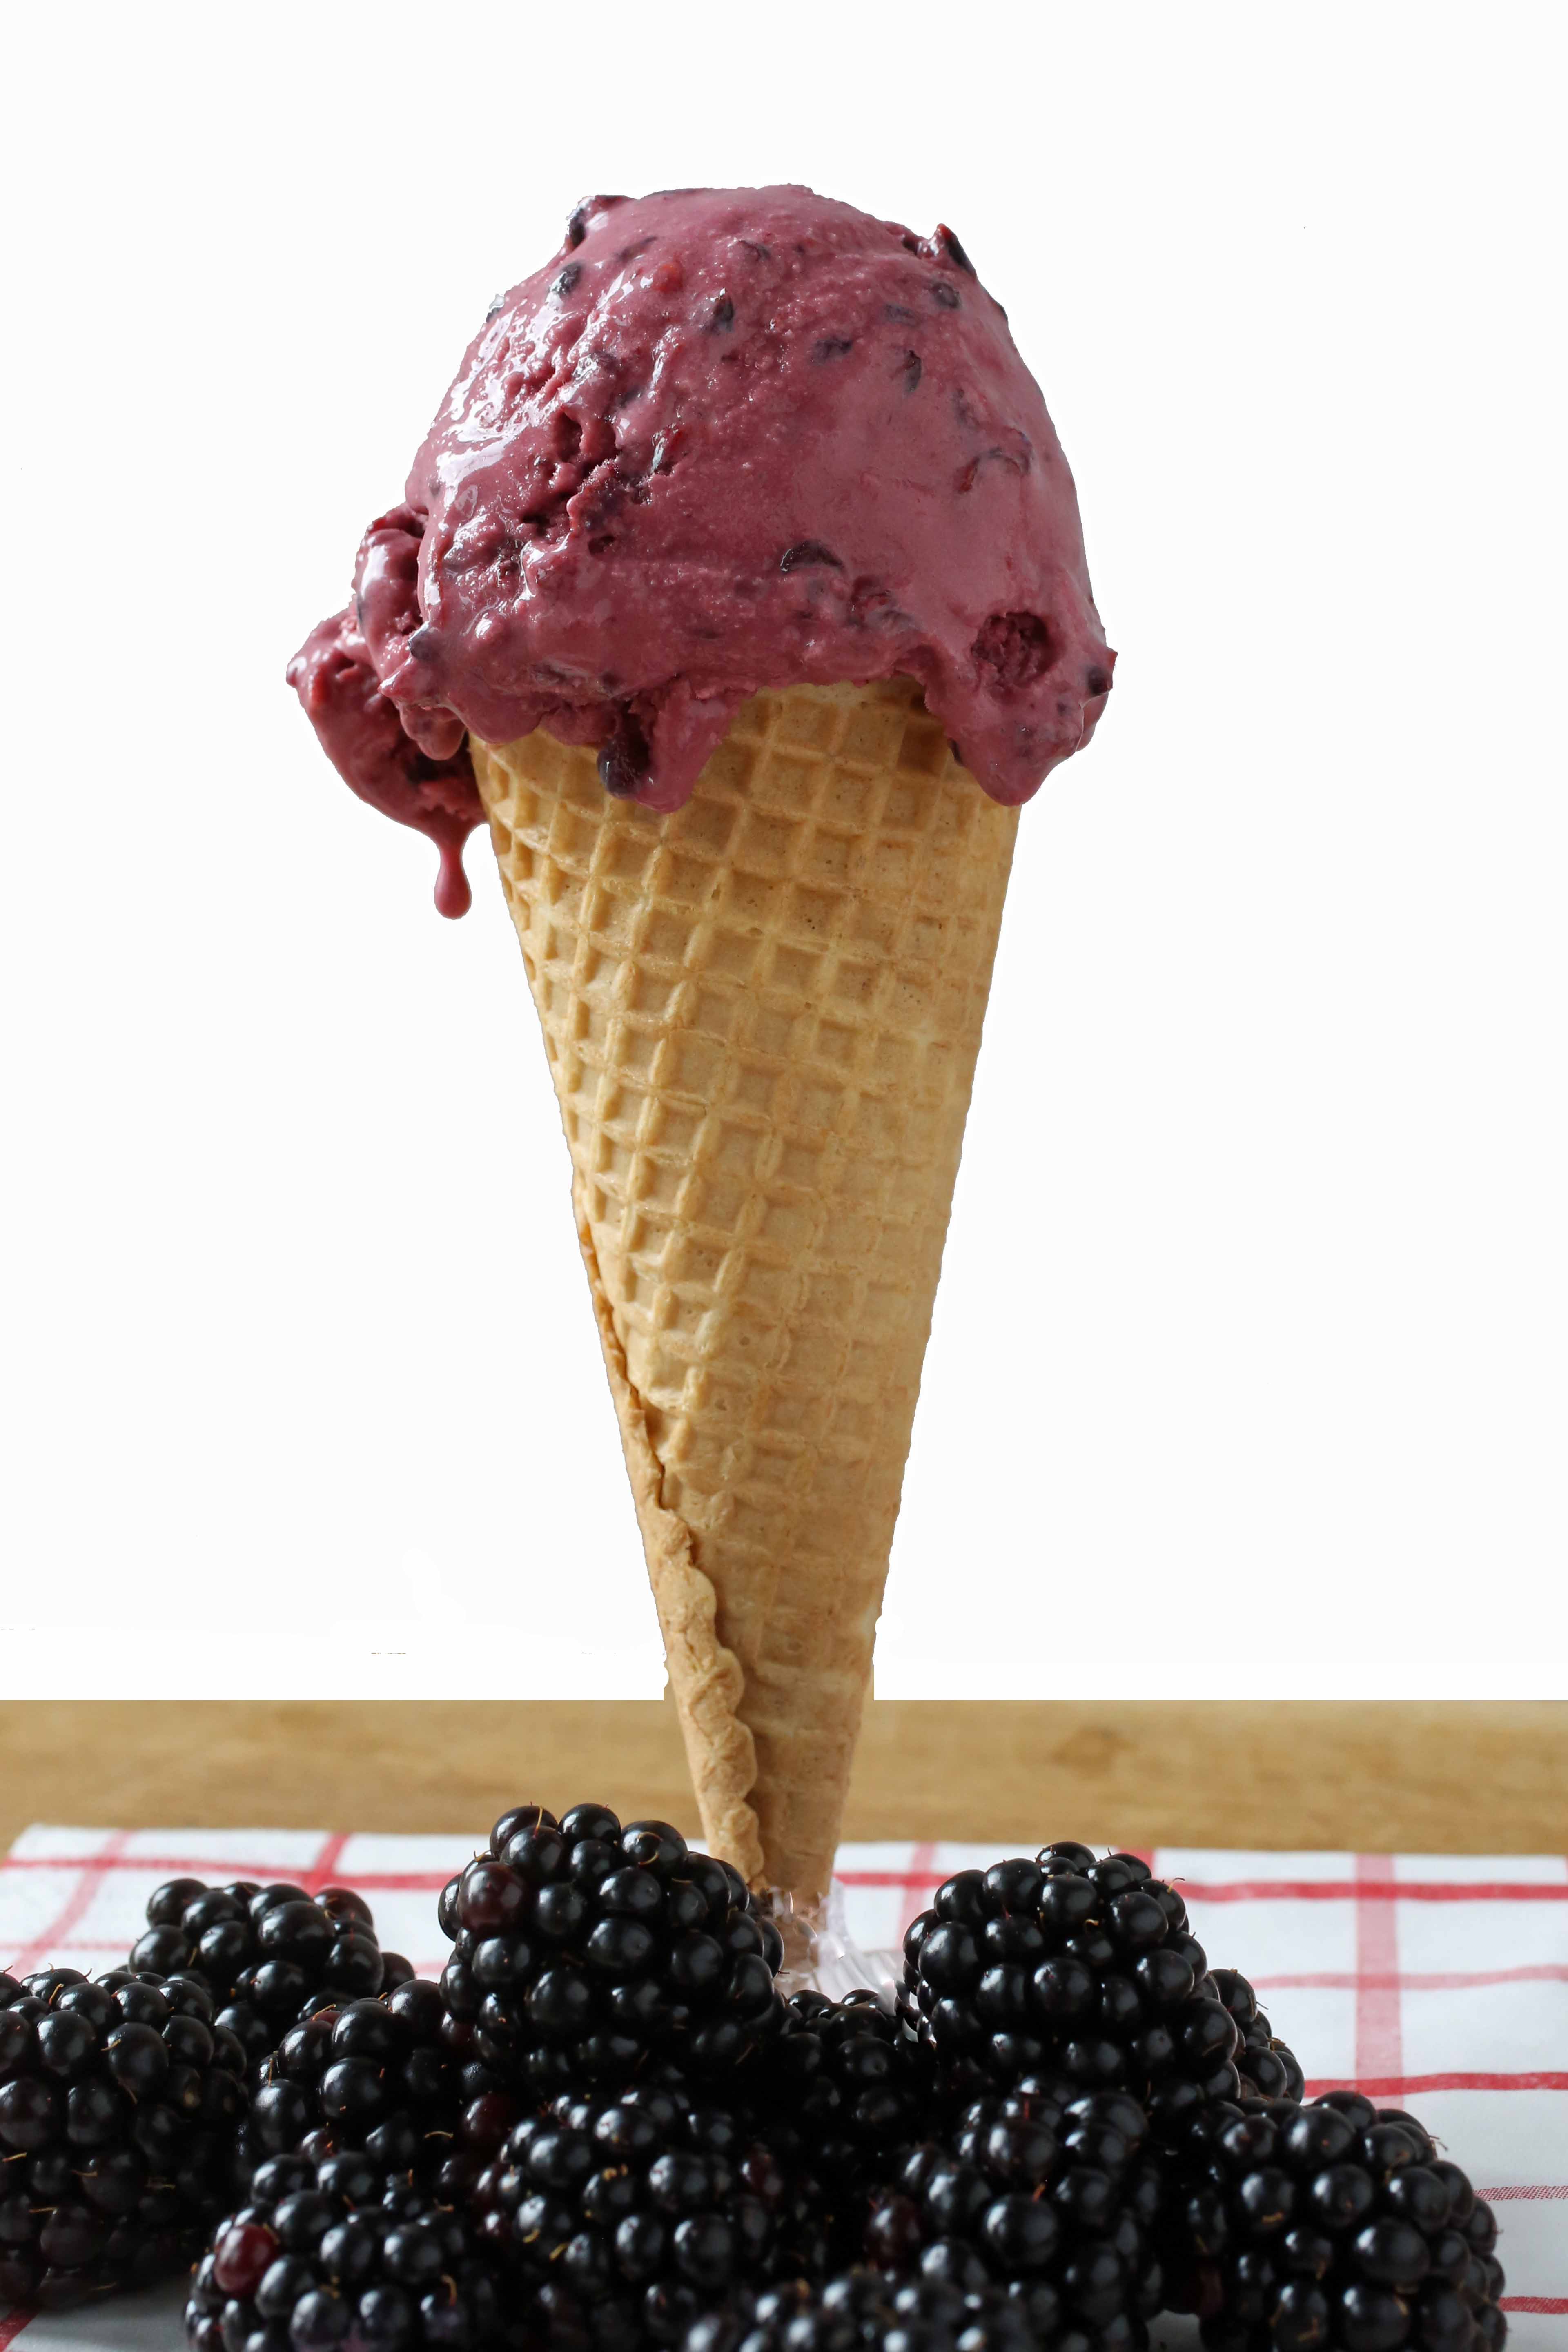
To Make Blackberry Ice Cream
As a kid, on hot summer days in the South I thought of ice cream. I thought of homemade ice cream, churned in a very loud ice cream churn although we didn’t own a very loud ice cream churn. In fact, we never had a churn at all. We had Sealtest brand ice cream. Meh… In the South, many, for obvious reasons, sought peach ice cream, but that is not the ice cream I sought. For some reason, it is blackberry ice cream that I associate with scorching summer days in the south although I can not remember a particular blackberry experience that would have made this the case. I do remember driving through Georgia and stopping at nowhere places that seem to have the longest list of ice cream flavors ever. 31 flavors seemed like nothing at these places. I couldn’t resist the risk of choosing flavors that never appeared in the grocery store. No one wants to choose wrong, but there is only so much Sealtest rocky road one can eat.
How To Make Blackberry Ice Cream – A Taste Of Summer and Custard
It seems to me that blackberries just feel and taste like summer – sweet and juicy. What better way to enjoy them than in ice cream. When I make blackberry ice cream, or any ice cream for that matter, my classic French culinary training takes over. I insist that the ice cream be a custard style ice cream. The velvety texture of a loose custard simply churns up best resulting in the best ice cream. Is it more work? Sure, eggs need separating and the custard base needs to be cooked. But it is worth it. And you really don’t have to fiddle with egg tempering nonsense or double boiler use. More on that later.
How To Make Blackberry Ice Cream – The Fruit Conundrum
To make fruit ice cream, blackberry ice cream included, there is always a small risk of iciness. With fresh fruit comes water and when that water is left in the mix, it will churn up smooth. However, there is the potential to have an ice cream that is a little icy upon freezing and scooping. The fruit could be cooked to remove the water, but fresh taste is best. Cooking the blackberries will make the flavor more vague. I am willing to risk iciness. I have never been moved to cook the blackberries before I make blackberry ice cream. The same goes for straining. I don’t mind the seeds.

How To Make Blackberry Ice Cream – Forget The Tempering
A custard ice cream base does need to be cooked, but the notion of having to temper the egg yolks is old school. What is needed is care and understanding of the temperature the ice cream base mixture is reaching. The egg yolks and sugar are still mixed until pale, but the milk and/or cream is mixed right in to the yolks and sugar. The milk/cream is not pre-heated. The ice cream base is then slowly heated until a thermometer reaches 175-180F. At this temperature, the custard base will be thickened and cooked and, as the old schoolers insist, coat the back of a spoon. Care is needed because if it goes much higher in temperature the yolks will scramble. But with a thermometer, you know exactly when to remove it from the heat.
Make Blackberry Ice Cream – The Pour Over
The cooked custard is then strained right over top of the pureed blackberries, allowed to cool, then chilled, then churned.
The ‘How To Make Blackberry Ice Cream’ video is below. The full recipe follows.
- 4 egg yolks
- 1/2 cup sugar
- 1 cup of whole milk
- 1 cup of heavy cream
- 2 teaspoon vanilla extract
- 1 lb of fresh or frozen blackberries
- Place the blackberries into the bowl of a food processor and pulse until the berries are mostly pureed. Transfer the pureed berries into a large bowl. Set aside.
- Place the yolks and sugar in a medium bowl. Whisk the sugar/yolk mixture together about 1 to 2 minutes, until it is thick and pale yellow in color.
- Whisk the cream, milk and vanilla into the egg/sugar mixture until they are fully incorporated.
- Transfer the mixture to a medium pot and place the pot over medium low heat.
- Heat the mixture slowly whisking constantly until a candy or instant read thermometer reads between 175-180F. The mixture should thicken and coat the back of a spoon.
- (Note: Do not let the mixture boil. If the mixture curdles, remove it from the heat, and let cool. Place it in a blender and whip until smooth.)
- Strain the custard through fine sieve into the bowl containing the pureed berries. Cool the mixture by placing the bowl over an ice bath. Continue to whisk the mixture. When it is cooled to room temperature, refrigerate the mixture until fully chilled.
- Churn in your ice cream maker following the manufacturer’s directions.
- Transfer to a container and store in the freezer.
- Serve in a bowls or on cones.
I hope you enjoy!
Keep Eating! Keep Innovating!
Do you make homemade ice cream? What is your favorite flavor? Let us know in the comments or on Facebook.
The Culinary Exchange can also be found on Twitter, Instagram, Pinterest, Google+ and YouTube.
Come On! Follow Along!